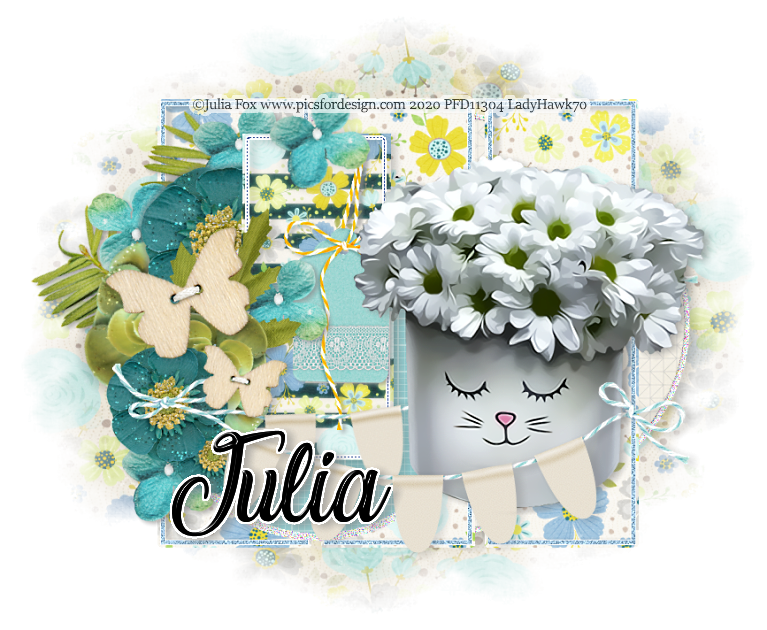
Laurie by ChaChaz (HERE)
DigiScrap Blog Kit by Flergs (HERE)
Makin' Waves Template by Dee (HERE)
“Laughing and Smiling” (NAME)
Mask of choice
Open the template and resize the canvas to 900 widths (height will follow). Flood-fill the white background, rename the file and save.
Now, delete the top SIX (6) template layers and the dark blue rectangle. We won't be using them.
Open paper 4, resize by 25% and apply your mask. I worked my mask above the white background into an oval but, if you have an oval mask, you won't have to. I also duplicated it until I liked the shade.
Open paper 1, resize by 20%, add the glow seen below, then replace the aqua rectangles layer.
Add a new layer, flood-fill with A0C4DE, and replace the white rectangle (glitter) layer. I duplicated this layer, outline in white, and then merge with the upper layer.
Open paper 3, resize by 20% and replace the purple oval layer. Use the glow setting below to lighten the layer.
Open paper 5, resize by 20% and add a regular glow setting, then replace light blue circle layer.
Open paper 2, resize by 15%, add the glow setting below, merge the top and bottom purple squares, and then replace this layer.
Open foliage 1, resize by 25% and add below the (upper) white circle layer; manually turn slightly to fit.
Open flower 2, resize by 20% and add above the foliage.
Open the succulent, resize by 18% and add below the flower 2 layer.
Open the banner, resize by 25% and add above all layers. I duplicated this layer and slowly manipulated it to a higher turn, then erased the excess and merged it with the first one.
Open foliage 2, resize by 18% and add below the banner ribbon (left).
Going back to flower 2 again, resize this time by 15% and add above foliage 2. Undo that resize, do so again by 10% and add a smaller version under this version.
Going back to the succulent again, this time resize by 15% and add above the flower 2 layer.
Open the button, resize by 25% and add above all layers; manually turn slightly. Do so again by 15% and add the opposite way.
Open the tag, resize by 20% and add above the dotted lines layer. Duplicate, move one up, and erase the excess at the top.
Open flower 1, resize by 15% and sprinkle it throughout your design.
Open the tube and grab the flower tube only. Resize by 40% and mirror. Position this under the banner layer, duplicate, move above the banner layer and carefully erase excess.
Resize and/or crop to your needs, before adding your name and copyright. Upload to enjoy.


No comments:
Post a Comment