

♥ Supplies Used ♥
“You are the One” by Igolochka, HERE.
“Mistral” by Roger Excoffon, here.
“Full of Heart” by Ahh Scraps, here.
“Mask 191” by Insatiable Dreams, here.
Eye Candy Impact: Bevel (for name)
♥ Lets' Begin! ♥
Create a new canvas of 900x900.
Name “Full of Hearts” and Save in *psd form.
Open “PD FoH heart circle” and resize by 30%. Apply above your mask layer.
Open “PD FoH frame 2” and resize by 25%. Add above your last frame layer.
Position the two so that they are centered in your canvas and yet overlapping each other, as shown. heart circle is above frame 2.
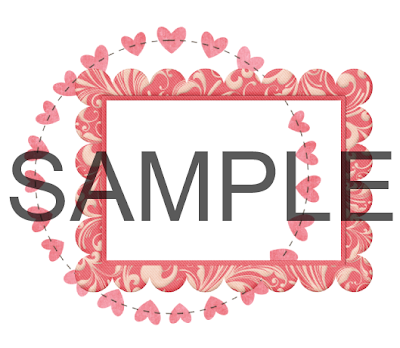
Duplicate heart circle and hide top layer. Using your magic wand, click your frame 2 with it and then hit delete on your heart circle layer. Click again inside of frame 2 and hit delete on your heart circle layer. This leaves you but a few hearts on your frame.
**NOTE: Make sure your frame 2 layer is highlighted when using your magic wand. You will have to go back and forth until it’s completed.**
Open “PD FoH Paper Diamonds” paper and resize by 20%. Add below your frame 2 layer and then erase excess paper.
Open “PD FoH Paper Fun Hearts” paper and resize by 850x850. Apply your mask, resize by 90% and add below all layers. Duplicate, flip and mirror and then merge together.
Open both tubes now. Add the girl to the girl with couch and position her over the other female. Resize both layers by 557 width (the height will automatically convert).
Delete single girl and add couch girl over your frame 2 layer. Position the tube to your liking and move below frame 2 layer.
Go back to tubes and undo your delete. Delete the couch girl and add the single girl above your frame layer. Position the tube so she covers the couch girl.
Erase marks on both girls for now.
Open “PD FoH bow” and then resize by 35%. Add above your heart circle layer.
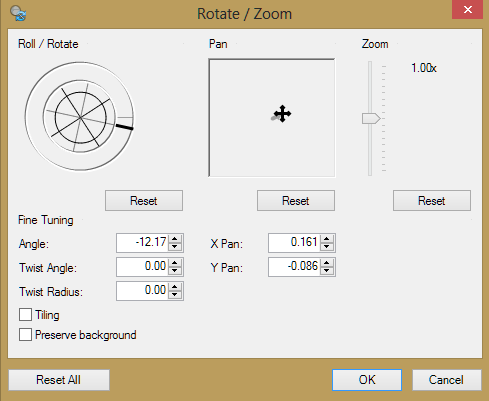
Open “PD FoH leaves” and rotate 90 clockwise then resize by 20% and position behind the bow layer. Erase the extra leaf that is behind the girl’s hand.
Duplicate leaf layer and manually rotate it until it’s close to standing. Erase all excess from under bow layer. Merge both layers together.
Now, flip vertical both bow and leaf layers so they are on the bottom of the frame.
Open “PD FoH glitter scatter” and resize by 20%. Add it above your mask layer (top) and then duplicate. Flip this layer vertical and move to the center. Go back to the first and duplicate again to flip vertical. Merge all three layers together.
Crop your design now. Try to get as close as you can to the mask without cutting it off.
Open “PD FoH stamp” and resize by 25%. Add below your bow layer and use the rotation below.
Drop shadow to all layers. Add your name and copyright information. Enjoy!
No comments:
Post a Comment