♥ Supplies Used ♥
Magic Spells by Elias Chatzoudis (HERE)
“Ravie” (name)
Mad Hatter by Kittz Kreationz (here)
Mask 80 by Vaybs (HERE)
Large White Swirl by Lovey (HERE)
ICNET Filters Unlimited (HERE)
Eye Candy: Impact: Bevel
Animation Shop 3
♥ Let's Begin! ♥
Create a canvas 900x900.
Open w52, resize by 750 width and add to your canvas then center align.
Add a layer below your word art and flood-fill with this colour: 1C7BB8. Apply your mask and erase the excess. Duplicate, flip, mirror and position before merging.
(NOTE: If you have trouble, clear cookies before applying mask)
Duplicate your WA, outline with the same colour as your mask layer (10 /5) and then add a normal PDN noise.
Resize your design to 700 width and add your tube. Duplicate and move one below both word art layers. The other gets drop shadowed and then erase a small section of each leg at the bottom.
Duplicate your mask and move above the outlined word art. Magic wand > click wA layer > highlight mask > hit delete > move below second tube layer. Add ICNET filters unlimited Venetian blinds to this layer (density 255 / shading 6).
Add W51, up-size by 115%, sharpen x2 and then above all layers. Move to the bottom to position and erase any excess WA from showing.
Open W49, resize by 50% and add to the top of your design, near the tube’s head.
Open W1, resize by 80% and add to the right side of your design, under WA51.
Open W33, resize by 60% and add under WA51 to the left.
Drop Shadow layers, crop or resize to your liking. (I resized by 80%)
♥ Lets’ Animate! ♥
Open AS3.
Hide all layers but frame paper and mask layers: Edit > Select All > Edit > Copy merged and add as your first frame in AS3.
Duplicate for 18 frames and then open your line sparks animation. Hit first frame > Select all > Animation > Resize > 450 width > Ok > Edit > Select All > Insert into frame > Position in the middle > OK.
Go back to PDN and copy the first animated design frame as a new image. Copy EACH animated frame on top of that one and save as a new design.
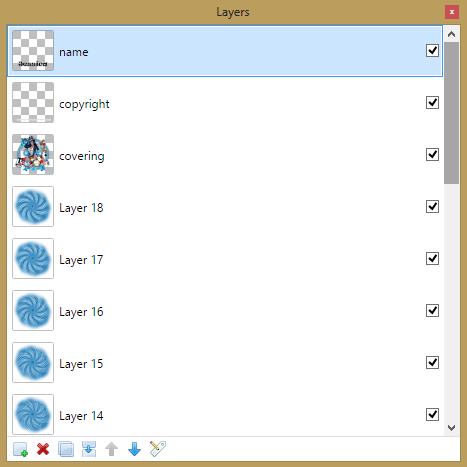
Once you get all frame layers back into PDN as your new design, hide the frame paper and mask layers and open all others. Edit > Select All > Copy Merged > and add this above all of your animated frame layers.
Now, since you resized and your animation is saved, with your covering, add a layer over your covering and place you name and copyright to your design.

Hide each layer and add back into AS3, starting with the first frame and working back to frame 18. Make sure each frame is added one after the other in order.
Once added, click on first frame and Edit > Select all > Animation > Frame Properties > 25 > Ok.
Click on first frame again Edit > Select all > Shift + z to add your optimization settings.
Upload to a photo sharing site to enjoy.


No comments:
Post a Comment