♥ Supplies Used ♥
“My Bunny” by Tony Tzanoukakis, HERE
“Amber Shaie” by Vanessa Bays, here
“Soleado” by studio Lilas, here
“Amber Shaie” by Vanessa Bays, here
“Soleado” by studio Lilas, here
Mask 302 by Wee Scot Lass, HERE
♥ Let's Begin! ♥
Create a canvas of 900 x 900. Flood-fill this layer black so you can see. Name and save in *psd form.
Open paper 2 and apply your mask. Pull mask layer to the top. Duplicate and flip vertical. Pull slightly to the top to even out the mask by making it round and merge. Duplicate again and flip both vertical and horizontal. Pull slightly to the left and merge.
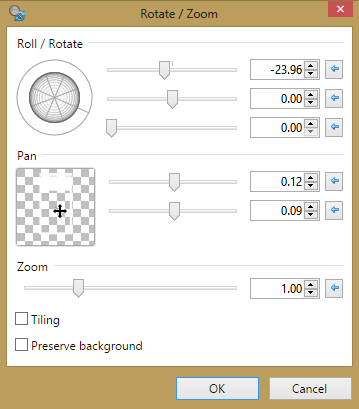
Open element 20, resize by 30%, rotate counter clockwise and the add to your canvas. Move to the center and flip black background. Rotate with the settings below, then Effects > Object >Object Align > Center Both.

Open element 12 and flip horizontal. Resize by 30% and add above your frame layer.
Open element 4 and resize by 35%. Add this above your last ribbon layer.
Open element 1 and flip vertical. Resize by 25% and add below your yellow ribbon layer.
Open element 16 and resize by 23%. Add above your pink ribbon layer.
Open element 25 and resize by 28%. Add above your frame layer and position.
Open element 3 and resize by 15%. Add below your rose layer. Duplicate and pull to the right.
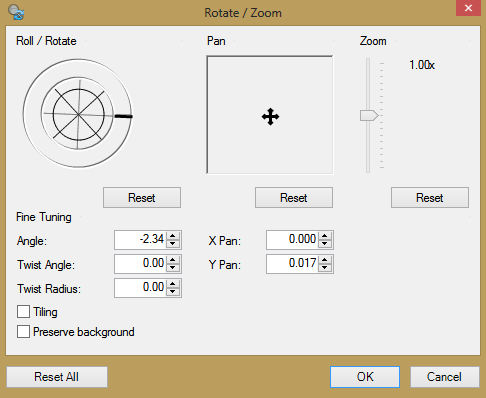
Once moved, use the rotation below then position to your liking. Merge both layers together.

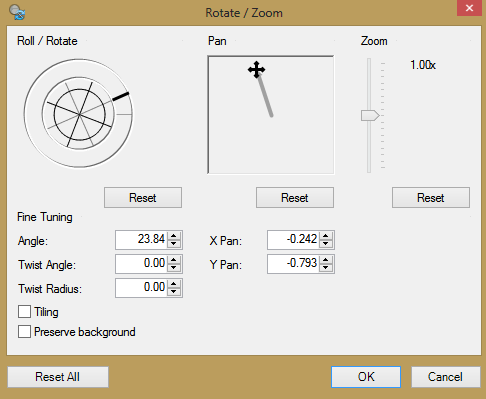
Duplicate and flip vertical. Use the rotation settings below to position.

Open element 26 and resize by 15%. Add this below your pink rose layer and position. Use your eraser to remove the clock arm.
Open the tube, mirror, add above your frame layer, taking care that it covers most of the whole frame.
Take you magic wand and click inside your frame. Edit > Invert selection > highlight tube > hit delete. Move below the frame.
Drop shadow all layers, crop or resize if needed. Add your name, copyright information and then upload to a photo sharing site to enjoy!


No comments:
Post a Comment