♥ Supplies Used ♥
Juice by Nocturne (HERE)
“Bananas” (NAME)
“Summer in Orange County” by Misty Hilltops
Penta Dot and Cross (HERE)
Template 1 by Twyzted (HERE)
WSL Mask 238 (HERE)
Eye Candy 4000 Bevel
♥ Let's Begin! ♥
Download mask, re-size to 900 widths and save. Apply mask to paper 15, after re-sizing to 900 widths.
Open template 1, canvas size to 863 widths and flood-fill the background; save.
Delete credits and raster 7 layers.
Add mask layer to left side of white background, erase the right side, duplicate and mirror then merge the layers together.
Open the sitting tube. Pick the colours, merge the layers, and re-size by 800 height; add above all layers.
Change out layers with 700x700 papers.
paper 1 for raster 5
paper 2 for raster 6
paper 5 for raster 2
paper 7 for raster 4
Add a deep PDN noise to the raster 3 layer.
Duplicate lips layer above and outline second layer of lips by 2/5 (normal) white.
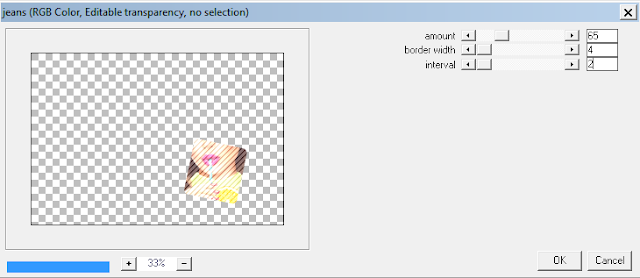
On the right hand side of the upper duplicate lip layer, add the penta jeans settings below:
On the left hand side of the upper duplicate lips layer, add the penta dot and cross settings below:
Open flower 3, mirror, re-size by 35% and place under each of the raster 3 layers.
Open flower 1, re-size by 40% and add below each of the flower 3 layers.
Open leaf 3, mirror, re-size by 20% and place under each flower 1 layer. Duplicate and arrange as shown in tag.
Open flair 1, re-size by 40% and add below each of the leaf layers; one upper left and one lower right.
Open the butterfly, re-size by 20% and add below the sitting tube layer.
Add your own personal touches now.
Crop/resize to your liking then add your name with copyright, Upload to a photo sharing site to enjoy.


No comments:
Post a Comment