
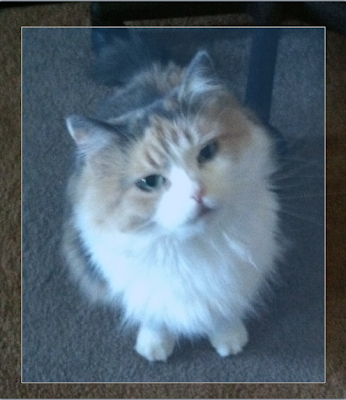
Open your program and find your picture.


Once you have your photo open, in your toolbar, find "Rectangle Select":

Holding down your LEFT mouse button, DRAG your square across your image to the size you wish for it to be cropped to. This is mine:

In your toolbar, do the following:

Now, my image looks like this:

Now, here are some hints:
1.) If you are trying to crop a graphic design you have created, the same principle applies.
2.) Leave your graphic design ON your white background so you can better see where your mask or any drop shadow ends so that I don't cut it off.
3.) Do NOT crop ALL sides at the same time. Do ONE side at a time in order to leave remaining space for your mask and drop shadow.
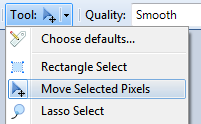
Want to move selected pixels or stretch your image? You can use this method to do just that.
Similar to cropping; you must first surround your image to be moved.
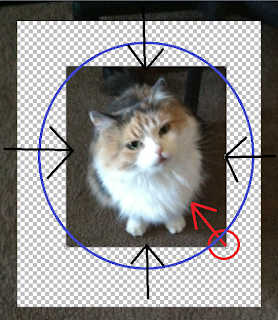
Once you've selected your area with the cropping tool, do the following:
Click anywhere OUTSIDE of the cropped image and these little nubs will pop up. There are eight of them--one on each side of your image (top, bottom and sides) and one at each corner.
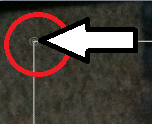
Grab any of the little nubs to move your image one way or another.
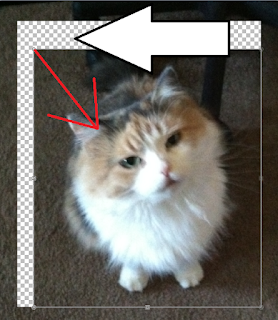
With the above, I simply moved ALL the pixels down so you can see the transparent background behind it.
With this one, I moved the pixels closer. You can also pull out the pixels to make the image larger.
No comments:
Post a Comment