
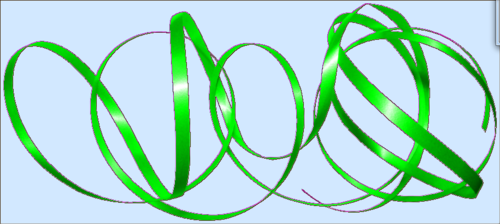
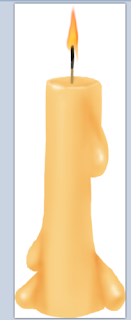
Open your program and element of choice. I'm adding mine to a white background so that you can see it better. I'm also using an element that has shades to it so you can see how this will be added to your newly re-coloured element.
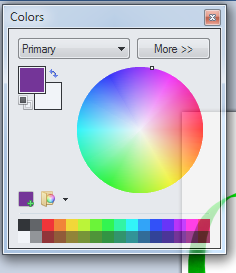
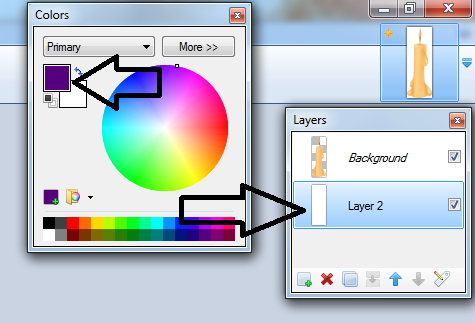
If you don't already have your colour wheel up, open it now. Select the colour you wish to use for your project. I've chosen purple so you can see it better.
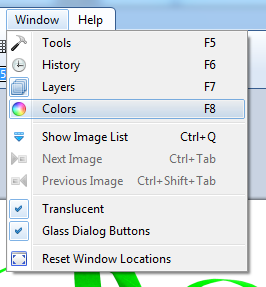
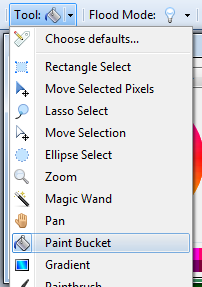
Once your colour is selected, go to your tools in the left of the page and select your paint bucket. Then, go to your layers box and add a layer above your element.
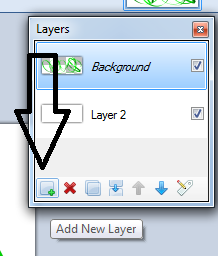
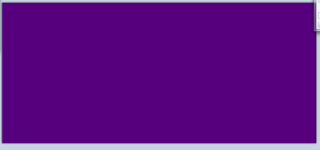
Drop your colour on this new layer to get this:
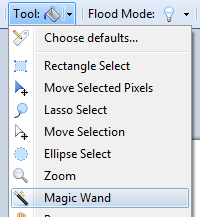
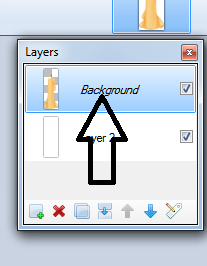
Go to your tools and select magic wand. In your layers box, make sure you have your purple layer unchecked and your element layer highlighted in your box. This will show you are on the element layer.
While holding shift good, click on any space on your element to get this:
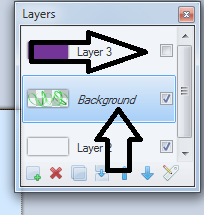
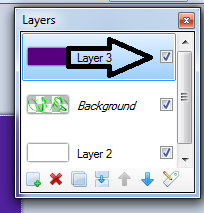
Go to your layers box and re-check your purple layer, making sure it is also highlighted.
Hit delete on your keyboard and the purple layer turns into the shape of the element. And then you'll have this:

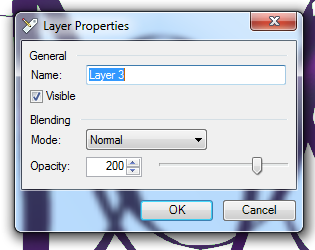
While on the purple layer, go to your "Properties" button at the far right hand bottom to change the layers opacity. Change it to what looks best for you. This is what I changed mine to:
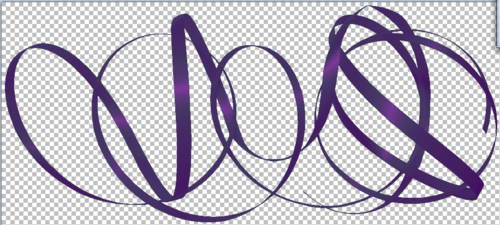
I got this:
Open your program, find your element and resize if need be. I'm adding mine to a white background so you can see it better.
You'll want your colour wheel up and your colour chosen.
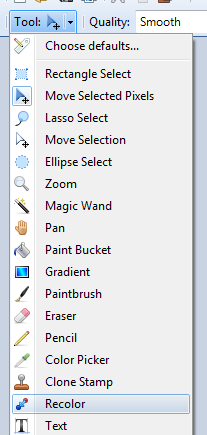
Go to your tools and find the "recolour" tool there.
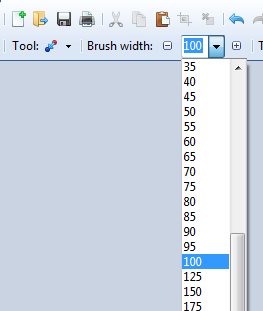
Go to your toolbar. You'll see you've selected your colour tool but it also has a brush width beside it. Choose the best size to fit your needs. I'm first using 100 because I want to get around the wick first.
In your layers box, make sure your candle layer is highlighted. This ensures you're on the right layer.
While holding down the left button on your mouse, slowly recolour the candle as you want.
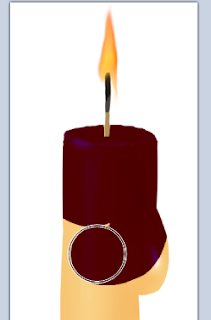
As you can see, a purple colour will turn your candle a burgundy! LOL So, you'll have to play with your colour to find the one that will blend with the existing colour to get what you want.
Here's the finished product:
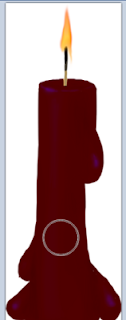
This one is not an exact science and it's also why I found the Version 1 way of recolouring. But, at least it can be used when Version 1 doesn't work for me.
No comments:
Post a Comment