

"Mermaid Goldfish", by Elias Chatzoudis (here)
Pea Carrie Script Font (here)
"Masque Vol III" by Mini-Renne (no longer available)
I've added them here; All claims lay with the mask designer.
♥ Let's Begin! ♥
Open new canvas 700x700. Name "Elias Blue Ocean" and save in PSD.
Open pap_4. Image > Resize > By Absolute Value > 650x650. Go to Effects > Alpha Mask > Find your mask > Ok. I darkened my white background in order to use my eraser to clear away excess mask. Make background white again. Rename "Mask". Save.
** NOTE: I had to invert my mask in order for it to work. **
Hide your white background. Open your tube of choice and Edit > Select All >Copy. Go to your canvas and Edit > Paste As A New Layer. Center mostly at bottom of the mask. Save.
Open element_12. Image > Resize > 20% > Edit > Select All > Copy. Go to your canvas and Edit > Paste As A New Layer above your mask. Move half on sand, half in the water. Rename "Boat". Save.
Open element_03. Image > Flip Vertical > Image > Flip Horizontal > Image > Resize > 15% . Edit > Select All > Copy. Go to your canvas and Edit > Paste As A New Layer above your mask. Move to the left hand corner of your tag. Rename "Lifesaver". Save.
Open element_16. Image > Resize > 20% > Edit > Select All > Copy. Go above boat layer and Edit > Paste As A New Layer. Move to the left hand corner. Rename "Gate". Save.
Open element_04. Image > Resize > 15% > Edit > Select All > Copy. Go to your canvas and Edit > Paste As A New Layer above lifesaver layer. Rename "Jar". Save.
Open element_18. Image > Resize > 20% > Edit > Select All > Copy. Go to your canvas above your jar and Edit > Paste As A New Layer. Flip white background. Go to Layers > Rotate/Zoom > Angle ; -108.43; X Pan: -0.645; Y Pan: 0.0690 > Ok. Rename "Rope". Save.
Open element_06. Image > Resize > 20% > Edit > Select All > Copy. Go to your canvas and Edit > Paste As A New Layer and go above jar layer. Paste between your mermaid and the jar. Rename "shell". Save.
Open element_24. Image > Resize > 20% > Edit > Select All > Copy. Go to your canvas, above mask, Edit > Paste As A New Layer. Move to just below the mermaid's body. Duplicate and Layers > Flip Horizontal. Rename "Grass". Save.
Open element_20. Image > Resize > 10% > Edit > Select All > Copy. Go to your canvas, below mermaid's hands, and Edit > Paste As A New Layer. Neatly place book under hands. Rename "book". Save.
Open element_49. Image > Resize > 25% > Edit > Select All > Copy. Go to your canvas, above book layer, and Edit > Paste As A New Layer. Move in the middle of the mermaid's body. Rename "Lantern". Duplicate and move above mermaid.
Add a drop shadow to your top lantern and carefully use your eraser to get rid of the bottom of the lantern. The top half will be above mermaid's tail and the lower beneath it.
Open element_08. Image > Resize > 11% > Edit > Select All > Copy. Go to your canvas above the lantern and Edit > Paste As A New Layer. Center the two knots on each of the lantern's handle. Rename "Ribbon". Save.
Open element_01. Image > Resize > 10% > Edit > Select All > Copy. Go to your canvas and add a few birds to your background where you like them. Save.
Flip white background and save. Drop shadow to your liking each layer and save. Crop if necessary. Since my mask is light, I turned my white background dark (via my paint bucket) so I could crop it.
♥ How I Did My Font Colour ♥
Go to you Tools > Colour Picker.
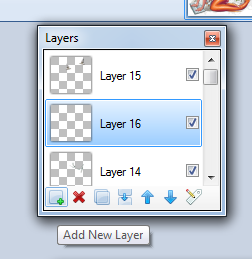
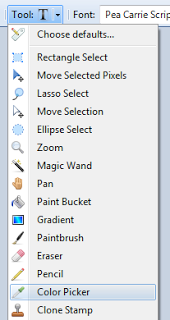 Go to you Tools > Colour Picker Go to you Layers Box and add a new layer. I made mine under my birds.
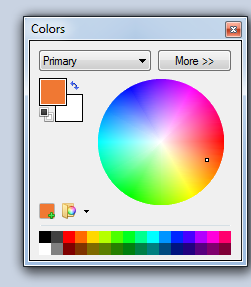
 Next, go to the mermaid layer in your layers box. Find an area of colour on her tail that you'd like to use as your font colour. Left click on your mouse once you have the colour section you want. This will put that colour in your colour wheel.


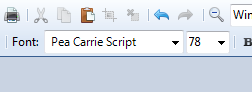
Now, I go back to Tools >Text to get my text to pop up. In order to get my text to fit in properly, I'll need to get my proper font size. As you'll tell below, it's 78 pica. In order for you to change your font size, just click in the box to colour it and type in your font size.
Outline, drop shadow and you'll have what I do above! Resize, add your copyright and enjoy!
No comments:
Post a Comment