♥ Supplies Used ♥
“Stroll” by Keith Garvey (HERE)
Miss Lankfort, by Charles Bluemlein (HERE)
“Strawberry Dreams” by Amy Marie (here)
Miss Lankfort, by Charles Bluemlein (HERE)
“Strawberry Dreams” by Amy Marie (here)
Mask of Choice
♥ Lets' Begin! ♥
Create a new canvas 800x800. Open paper 12, apply your mask, resize to 700x700 and add t0 the canvas. Save as a *psd called “Strawberry Dreams”.
While on mask layer: Effects > Object align > center both.
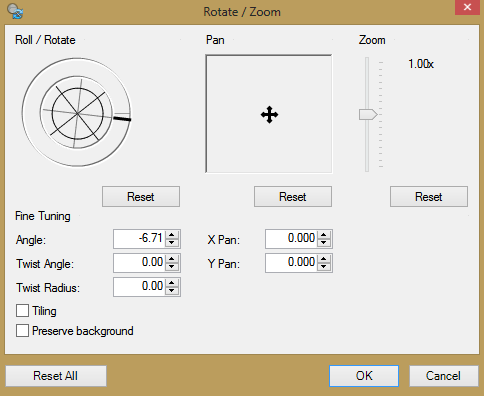
Open element 77 and add above your mask layer. Rotate with the setting below.

Open element 88, upsize by 125% and add this above your frame layer.
Open paper 14 and re-size to 600x600%. Grab your magic wand and click inside of your frame. Edit > Invert Selection > highlight paper layer > hit delete. Move below your frame layer.
Open element 112 and place behind frame. Use your eraser to remove the excess all around the outside of your frame.
Open element 105 and add above your grass layer. Move to the right hand side of your frame.
Open element 50, re-size by 75% and mirror. Add behind your basket layer.
Open element 42, re-size by 75% and mirror. Add behind your strawberry basket layer. Position to where it makes the bucket look fuller.
Open element 56 and add below your bucket layer.
Crop your design now. Find your tube and add it below your strawberry scatter and strawberry bucket.
Add a layer above your frame paper. Grab your paintbrush on 150 and add a yellow dot in the upper right hand corner of your frame. Effects > Blurs > Gaussian Blur > 45. I then mirrored and added ICNET Lens Flare filter, using Flare 10. Mirror back into its original position.
Re-position your element 56 below your tube layer now.
Drop shadow your layers, add your name and copyright and then upload to a photo sharing site to enjoy!


No comments:
Post a Comment