

Cap Girl by Jose cano (HERE)
Cap Girl 1 no longer available
Segoe UI Light (my tag)
“Faerytale Woods” (name)
Colour Challenge Freebie by Dreamn4Ever Designs (HERE)
Mask 5 by BeckyP (HERE)
Eye Candy Impact: Glass

♥ Let's Begin! ♥
Open cardstock 7, resize by 25%, and apply your mask. Add a new layer above your mask layer, flood-fill white and send to the bottom. Name and save as a *psd; center align your mask now.
Add multiple layers to darken to your liking and merge them all together.
Open the frame, resize by 19% and center align. Choose your paper, resize by 20% and add below your frame; erase excess.
Open the hinge, resize by 50% and add above the frame layer. Open the bow, mirror, resize by 40% and add above the hinge.
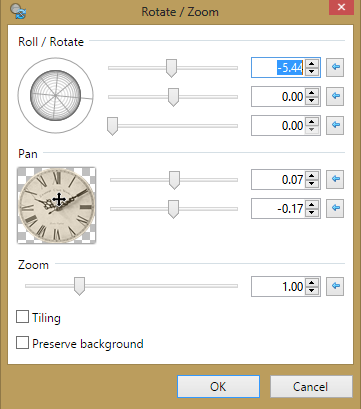
Open the clock, resize by 13% and add above your frame layer; use rotation below.
Open flower 2, resize by 40% and add below your clock layer.
Open flower 3, resize by 13% and add above your clock layer.
Open the brown leaf, resize by 40% and add above the arrow layer. Duplicate and flip / mirror then position.
Open the branch, rotate counter-clockwise and then flip before resizing by 70%. Add above your brown leaf layer. Use the rotation below to position. Then, add another on the left hand side above the frame layer.
Open your rose and resize by 35%. Add below your flower 2 layer and position near the bow. Duplicate and pull to the bottom, near the lower branch layer.
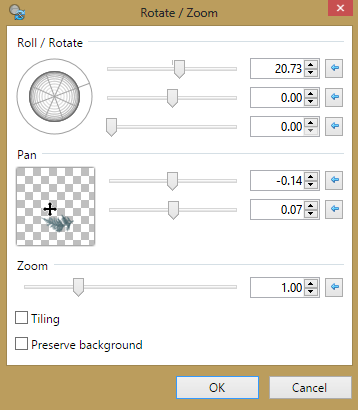
Open the key, rotate clockwise, resize by 30% and then add below your bow layer. Use your last rotation to rotate. Duplicate and move one below the bow.
Use a small eraser to remove a bit of the upper key so it looks tied.
Add your tube.
Drop Shadow layers, crop or resize to your liking then add your name with copyright. Upload to a photo sharing site to enjoy.
No comments:
Post a Comment