

♥ Supplies Used ♥
Tube by Eugene Rzhevskii
No Longer Available – Check HERE for options
“A&S Snapper Script” (name)
Spring Fling by Scrap Flower (here)
Eye Candy Impact: Glass (name only)
Mask by Becky P (HERE)
♥ Let's Begin! ♥
Open paper 4, resize by 25%, and apply your mask. Add a new layer above your mask layer, flood-fill white and send to the bottom. Name and save as a *psd. Erase all of the excess around your mask.
Open “katiecreates_springfling_frame”, rotate 90 clockwise, resize by 30%, and add above your mask layer. Pull to one side, duplicate, flip and save.
Undo your resize and rotation then resize again by 35%. Add this above your other frame layers and align.
Open “TrumanStudio_SpringFling_YellowSolid” and resize by 25%. Insert this paper into the bottom two frames. Once complete, you can then erase all of the two frames and paper and that show through the opening on your top frame layer.
Open “TrumanStudio_SpringFling_Paper2”, resize by 20%, and then insert this into frame 1 layer.
Open “TrumanStudio_SpringFling_YellowFlower”, resize by 20% and add to one side of frame 1 layer. Duplicate and mirror to position second flower. Drop shadow both layers to your liking then merge together.
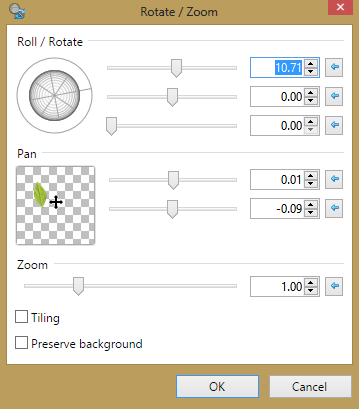
Open “MirelleCandeloro_SpringFling_DSA_BT_5”, rotate clockwise, resize by 25% and add below your left yellow flower layer. Use the rotation below to position.
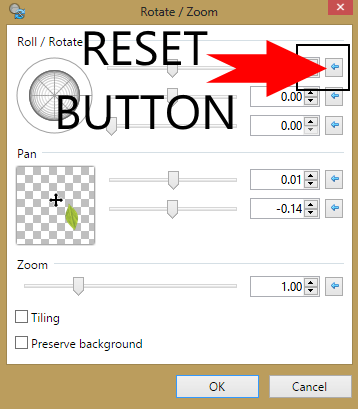
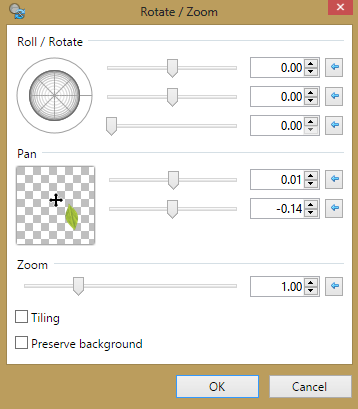
Duplicate your leaf layer and mirror then flip. Reset all sliders as shown below and then rotate with the new settings to position. Drop shadow to your liking and then merge together.
Open “katiecreates_springfling_flower” and resize by 15%. Add this to the upper right corner and lower left corner as shown in the tag. Drop shadow to your liking and merge together.
Undo the resize on “katiecreates_springfling_flower” and then resize again by 10%. Add a small flower below the yellow flower layer; position to your liking. Each will have to be hand moved into place. Drop then merge.
Open “katiecreates_springfling_sun”, resize by 25% and add above your mask layer.
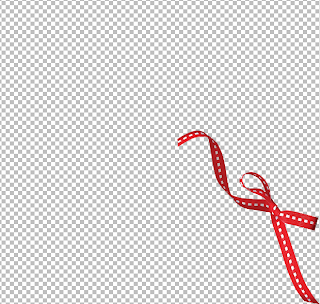
Use a large eraser on 75% hardness to remove all ribbon after the circle on “MirelleCandeloro_SpringFling_DSA_BT_2”, as shown below.

This is what you’ll have left. Just crop the excess and then resize by 25%. My crop was one square over and one square above the element. If you cropped further away, adjust your resize.

Duplicate the ribbon and position the second ribbon over the opposite yellow flower. Drop and merge.
Open the tube and resize by 50%. Add one layer below your frame 1 layer and position to your liking. Duplicate, move this layer to the top and drop shadow. Erase the bottom half of the second tube layer (under frame 1) and then slowly erase the bottom of the first tube layer.
Drop Shadow remaining layers, crop or resize to your liking then add your name with copyright before upload to a photo sharing site to enjoy.
No comments:
Post a Comment